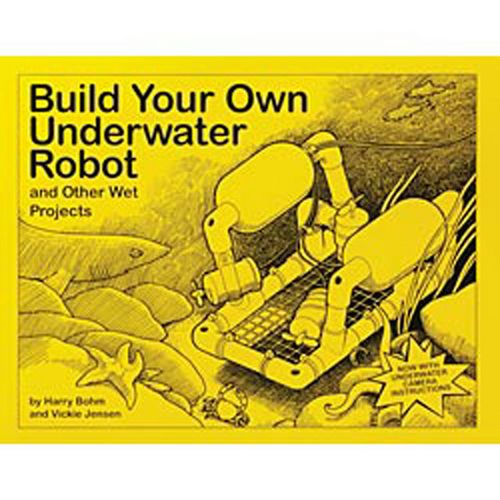
The students are starting to build their own underwater ROV. We are using the book Build Your Own Underwater Robot by Harry Bohm and Vickie Jensen.
 We are using the design for a "Seafox ROV" from the book Building Your Own Underwater Robot.
The book is written for students in upper elementary and middle school. However, I have to admit that I was a little intimidated when I first read the instructions and I consider myself to be pretty good with my hands. The book Build Your Own Underwater Robot includes a history of underwater exploration and directions for building your own diving bell, underwater habitat, underwater glider, and two different types of ROVs. The students decided to use the directions for building the "Seafox ROV". They liked the compact nature of this design.
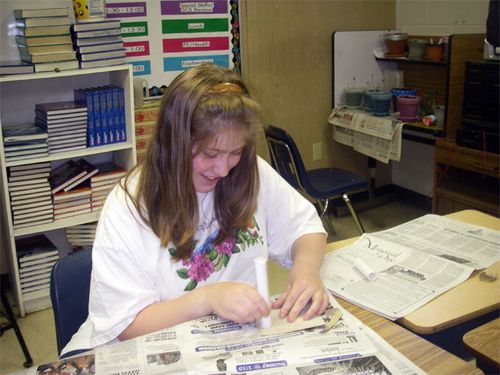
The first step is to build a frame. This involves taking a twelve (12) foot length of ½ inch PVC pipe and cutting it into pieces that are five (5) inches long. The students measured five (5) inches, marked it with a pencil, and then cut the pipe with a small hand saw. They then measured and marked another five (5) inches and again cut the pipe with the saw. The reason they didn't just measure out five (5) inches all at once was that each time you saw the pipe a small bit is cut off. That means that the first piece is five (5) inches long but each piece after that would be a little less than five (5) inches long. The process of cutting the pipe is a two person job. One person cuts while the other holds the pipe steady. After the pieces have been cut, then the ends are sanded smooth.
 First you cut five (5) inch pieces of 1/2 inch PVC pipe and then you sand the ends.
After all of the pieces have been cut then you need to "dry fit" the pieces together with ½ inch PVC elbows and ½ inch PVC tees. The frame has a top and a bottom layer that are connected together using elbows and tees. The elbows are for the corners and the tees connect three pieces together. Once you have completed the "dry fit" process and the pieces all fit together correctly, then it is time to put the frame together permanently. We debated about the best method to use. Some wanted to use PVC cement and others preferred to use metal screws. The best decision was to do one frame using the PVC cement and another frame using screws. Once they were both completed, then the group would decided which they felt was better. This also would provide us with a back-up frame.
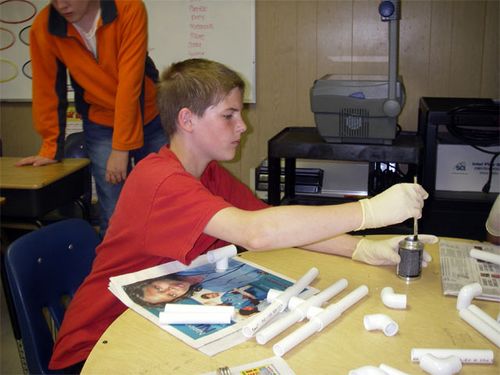
The first group worked with PVC cement. They used a small paintbrush to apply the cement on the end of each PVC pipe piece and on the inside of the elbow or tee. Once the piece of PVC pipe was inserted into the elbow or tee, then it was turned slightly to lock it into place. The trick was to make sure that all of the pieces were lined up correctly. We know this because we had to redo one section to get the frame to fit together correctly.
 One of the methods we tested for putting the frame together was to use PVC cement.
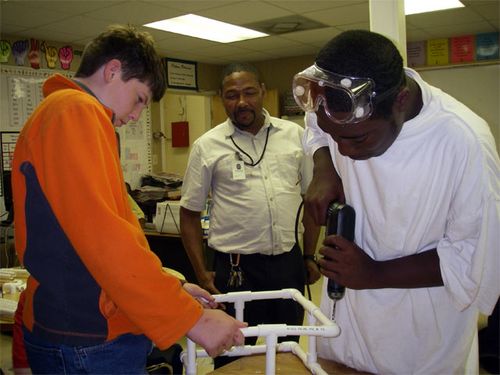
The second group used a drill to make 1/8 inch holes in the frame. The holes were placed on each end of the elbows and tees. Then a #6 x ½ inch stainless steel sheet metal screw was inserted in the hole. The building maintenance manager, Mr. Cooper, was more than happy to provide a drill and teach the students how to properly use the equipment.
 The second method we tried for assembling the frame was to drill holes and insert screws.
Both groups worked really hard to make a frame that was well-made and looked nice. Which one do you think we chose? I'll let you know in the next journal entry.

