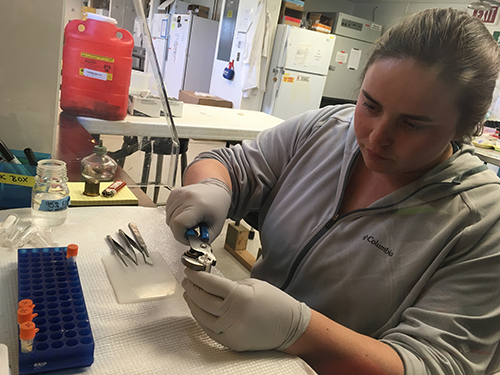
 Photo of me cracking the top of the Sterivex filter. Photo by DJ Kast
Labwork Time!
After the samples are collected in the field and preserved with DNA extraction buffer (DEB), they are brought to the lab and put in the -80C freezer
The next steps of the DNA extraction process include transferring both the DEB and the filters to a small microcentrifuge container. We call this step “cracking” because we crack open the filter cartridges to get the filters that have all the microbes on them.
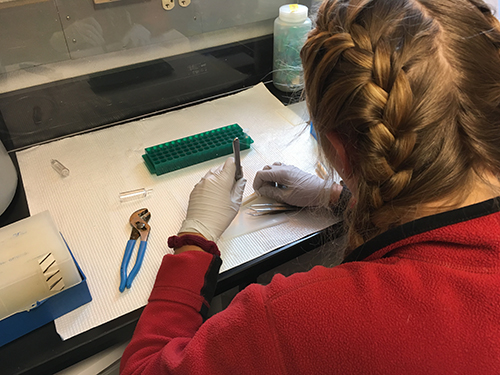 Johanne cutting the filter. Photo by DJ Kast
All the following work has to be done in a “laminar flow hood” that creates a special clean space to keep out dust and other contamination and make sure everything inside remains sterile. All the tools are pre-sterilized including sterile cutting boards, tweezers, and a scalpel. To sterilize the tools between samples, they are placed in ethanol and then placed over a flame.
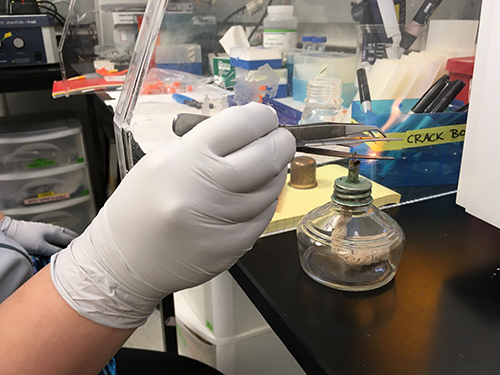 Sterilizing the tools by fire. Photo by DJ Kast
Pliers are used to unseal the top of the Sterivex cartridges by squeezing near the outport and cracking it open. The DEB liquid has some of the DNA in it, and so is poured into the same microcentrifuge container that the filter paper will go into.
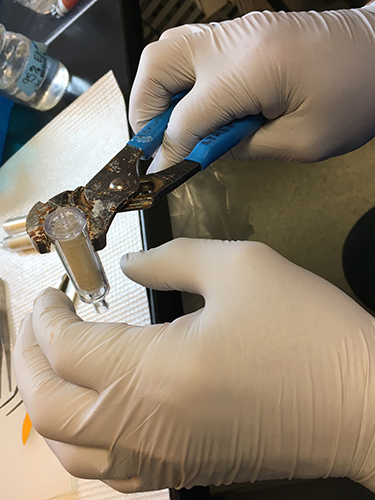 Plier holding the sterivex filter. Photo by DJ Kast
The filter is then cut off from the barrel with a scalpel by cutting all along each side of where the filter paper meets the barrel itself.
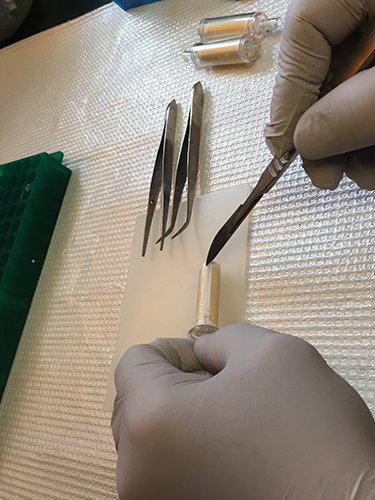 Scalpeling the Photo by DJ Kast
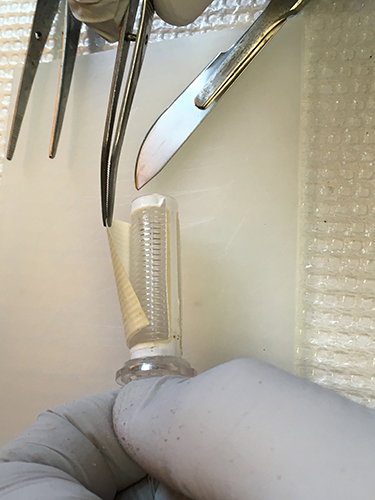 Removing the filter out of the sterivex tube. Photo by DJ Kast
Forceps are used to remove the filter paper from the barrel, fold it on the cutting board, and hold it still so it can be cut into 5-6 pieces with the scalpel and put into the microcentrifuge tube.
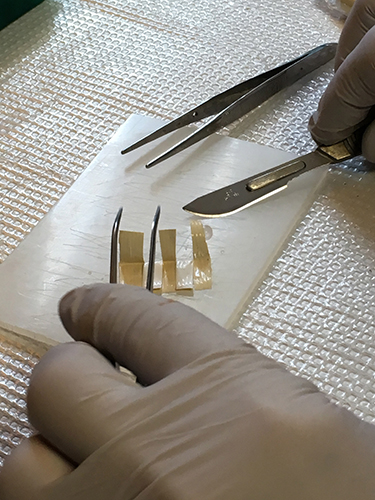 Cutting the filter. Photo by DJ Kast
This process makes it easier to extract DNA from the filters. The filter is cut into pieces so that the DNA does not get bunched up and trap some of the DNA.
 Putting the filter in the tube. Photo by DJ Kast
