An important part of preparing for going out in the field is knowing what to do if an emergency occurs. To learn all of these much needed skills, all new USAP participants are required to go to Happy Camper School before going out in the field. Happy Camper is a two-day training where you learn how to light stoves, build shelters, set-up tents, cook food, use radios, and recognize the signs of frostbite and hypothermia out on the ice shelf.
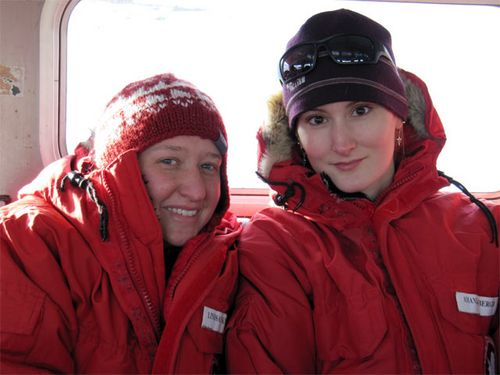 Amanda and I are on our way to happy camper in a tractor-like passenger vehicle called a delta.
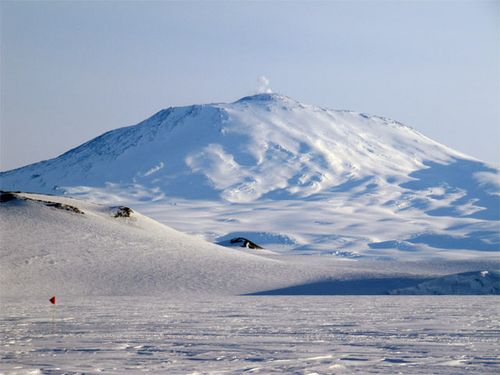 From happy camper we had a great view of Mount Erebus. It is the southern most active volcano in the world.
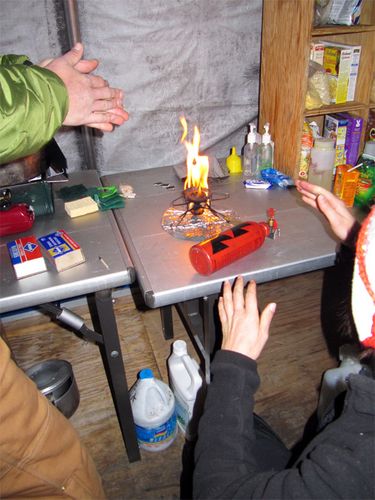 We successfully made fire with a whisper light camp stove.
A big part of survival in the Antarctic is making a shelter to protect yourself from the snow, wind, and cold. We learned how to make four different shelters and we would have to choose one to spend the night in. Today was a relatively warm day, but at night the temperatures were going to drop to -25°F. Where I teach, school is canceled at -25°F and now I am going to spend the night out in that cold. I had better make a good decision on what to sleep in. My choices were a Scott tent, a regular 4-season tent, a quinzee or snow cave, or a snow trench. Which one do you think I chose?
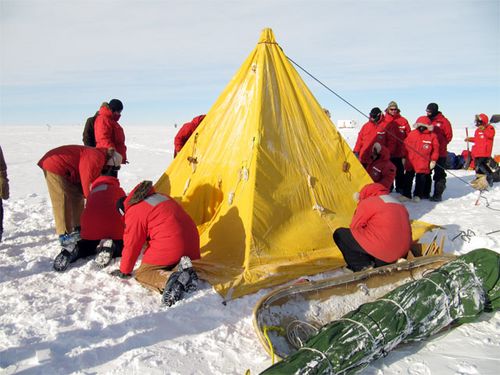 A scott tent is a double-walled pyramid shaped tent.
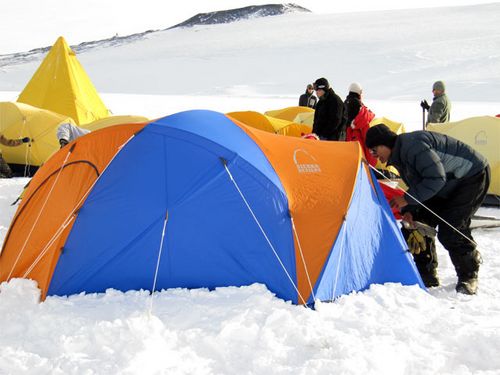 These tents are made to be used in all four seasons and will be what I use in the field.
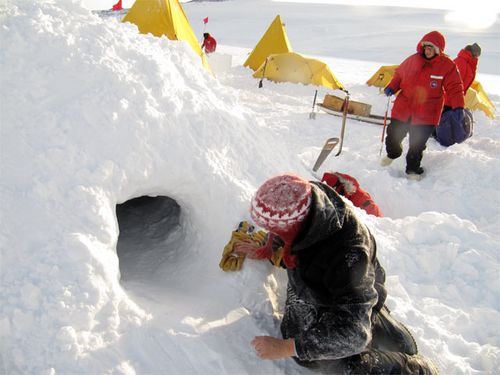 A quinzee is a snow cave with thick snow walls and a door to get in and out.
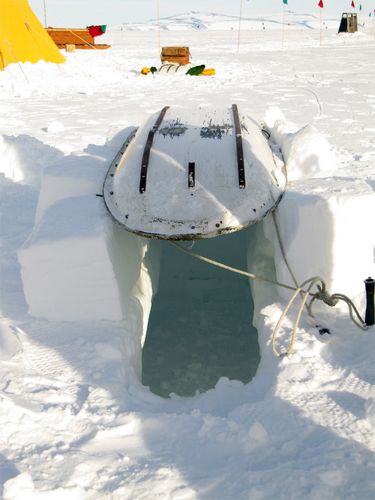 A snow trench is made by digging a trench into the snow, lining it with your sleeping bag, and then adding a roof.
If you guessed the quinzee or snow cave, you were right. It was a little scary at first because you are buried under so much snow, but it was definitely the warmest option because it had so much insulation. Here is how we built it:
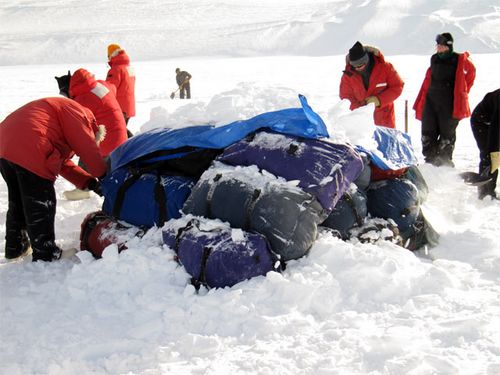 We piled up all of our sleep kits and started covering them in snow.
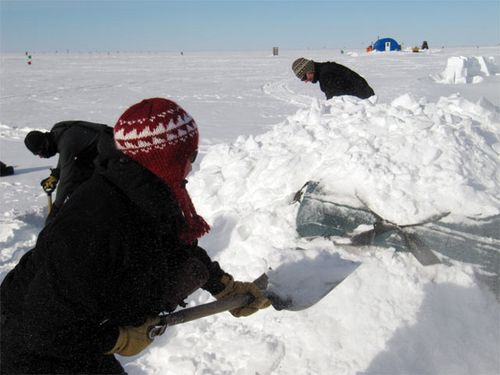 We shoveled about a foot of snow over the entire quinzee.
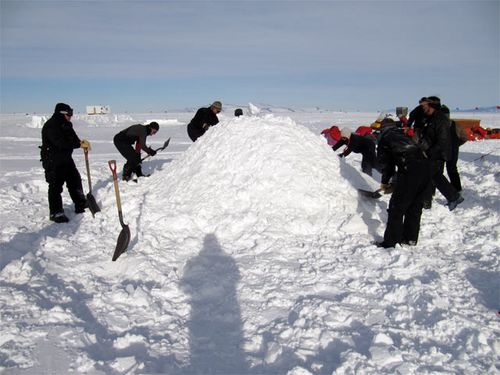 We patted down the snow with shovels to set the snow and help it harden.
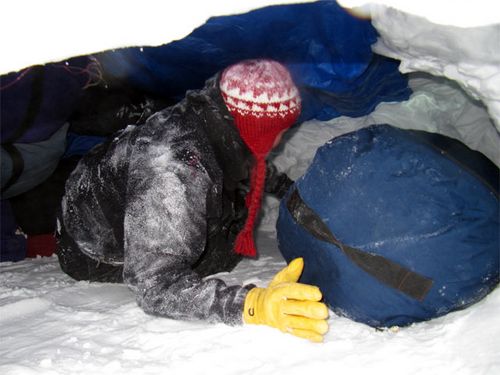 Very carefully pull out the bags through your "mole hole" so that the quinzee is hollow inside.
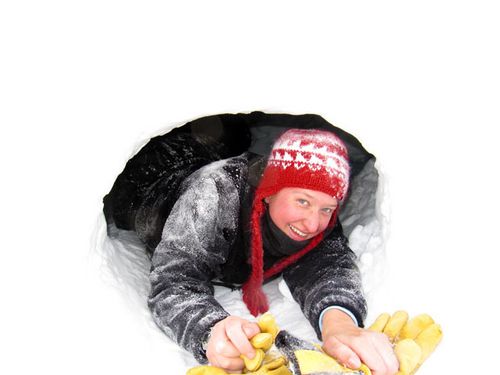 The final step is to carve out the inside for head room, make your entrance door, and add air holes.
After our quinzee was built, the next step was to get food in my belly. We had dehydrated meals, where you just boil water, add it to the bag, and wait about 10 minutes before eating. They weren't bad, but I don't think that I would say that they were good either.
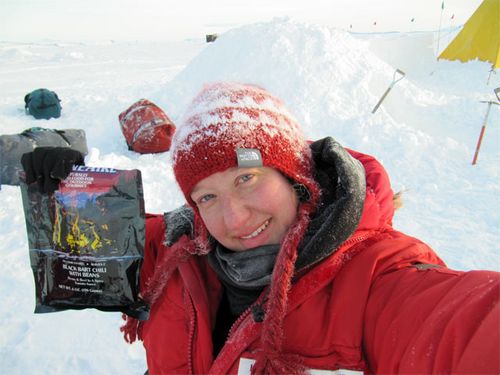 After working hard to build our shelter, a dehydrated meal definitely hit the spot.
Before I left, I told my students about happy camper school and they were convinced that I was not going to survive. Don't worry, I survived and I even had all my fingers and toes intact. It was a little chilly, but all of the skills I learned helped me to survive.
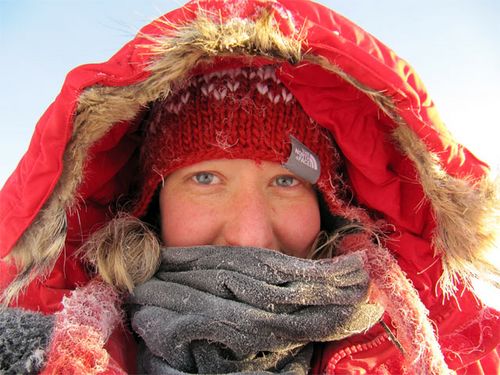 By the end of happy camper, I was a little frozen but I was still "happy" and I feel much more prepared for going out in the field.
