After several days of tunneling, we have definitely made some progress. After Day 1 we were 1.9 meters into the tunnel. After Day 2 we were 4.35 meters into the tunnel. After Day 3 we were 6 meters into the tunnel and currently we are at 8.5 meters. Now we are going to expand the end of the tunnel into a 3 by 3 meter room so that we can begin sampling. Once we finish the room (hopefully today), we get to sample the ice by carefully cutting out specific sized blocks in the dirt layer below the room and then taking cores of the clean ice above the room.
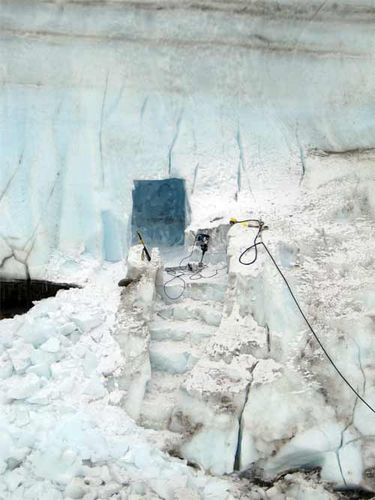 A look at our tunnel from the outside. The pile of debris ice outside the tunnel grows as we make our tunnel bigger.
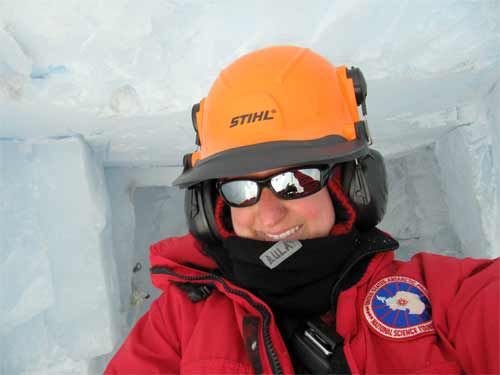 I'm taking a break in the tunnel before getting back to work again.
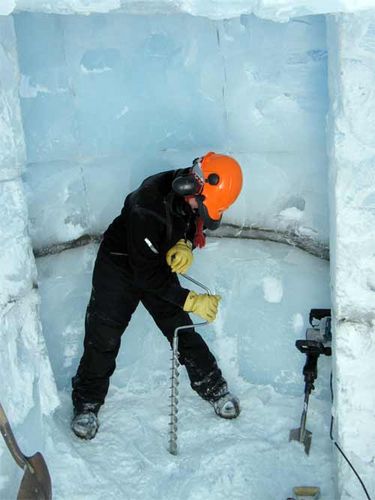 I am using an auger to drill a hole into the ice to find how deep the sediment layer lies beneath the tunnel floor.
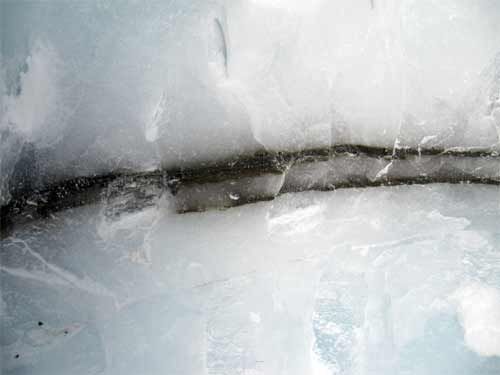 This is a small sediment layer that you can see in the clean ice of the tunnel. We hope to find a much thicker sediment layer beneath the tunnel floor.
The tunneling has gotten more complex then when we first started. First we go in with chainsaws and cut the wall of ice that we want to cut out into blocks like a checkerboard. Then we pop the blocks of ice out of the wall with a demolition hammer. I like this part because the ice is under such great pressure that the ice blocks literally pop out of the wall. When the ice pops out of the wall we try to catch it with a sled or load it onto the sled with shovels. Some of the ice blocks weigh well over 200 lbs so it is pretty crazy trying to get them into the sled. Once the sled is all loaded up (sometimes over 600 lbs) we drag the sled out of the tunnel and dump it over the glacier edge. This process is repeated hundreds of times in a day until we clear out the tunnel to the size that we need it to be. It is a lot of hard work and we rotate jobs and shifts so that no one gets too tired out. However, the best way to stay warm is to keep on working, so no one wants to take too long of a break.
The Tunneling Process
http://
