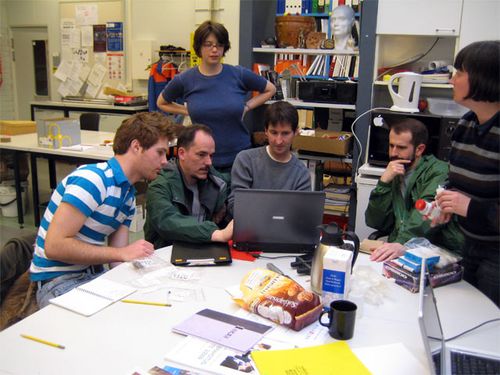
When the day is done, we’re not really "done.” Most evenings we meet in the University of Oulu’s **Archaeology Laboratory** after dinner.
 In the lab
It is a pleasant place with a skylight, lots of tables, computers, and books, and chemistry supplies.
Mostly we meet here to process information. Archaeology is full of numbers.
 In the lab
 In the lab
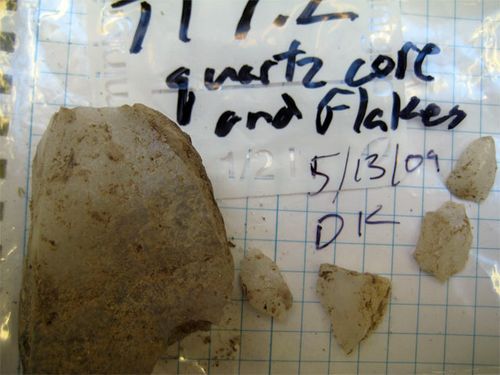
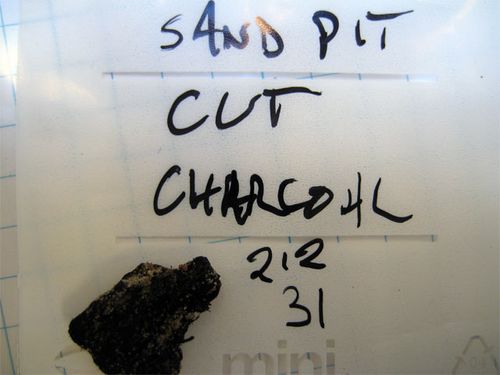
Every site has a number to identify it. Within a site, each location has numbers telling where it is. Every soil core has a number, and several samples (numbered) are taken from each core. Every sample gets analyzed – more numbers! Every sample was collected at some depth beneath the Earth’s surface. Everything has to be dated, photographed, and described. The photographs are numbered. There are tables of information to be transcribed, correlated, recorded, and mapped.
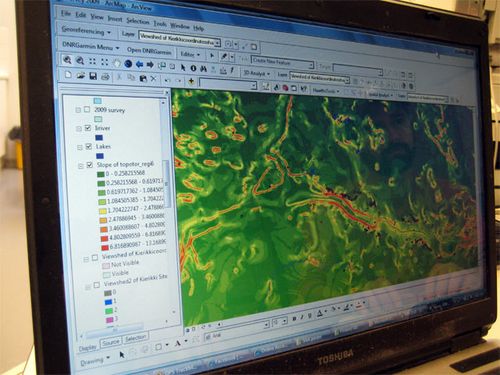
It’s a good thing we have the computer tool called GIS (Geographic Information System.) In fact, our leader Ezra Zubrow was a GIS Pioneer.
 In the lab
The other thing we do in the lab is soil phosphorus testing. The dirt here is naturally low in the element phosphorus. However, bones and fish scraps are full of phosphorus. This means that, even 5000 years later, if people lived here the soil will have a lot more phosphorus than if people did not.
I have training in geochemistry and before I came here I assumed we would use some high-tech method to determine soil phosphorus. I was surprised when I saw how simple the phosphorus analysis is. However, it works to answer the question: "did people live here long enough to leave extra phosphorus behind in the soil, or did they not?”
This method is so simple that any 3rd-grade class can do it. For that reason (and so I won’t lose the recipe) I have written it down here. Seriously, teachers, this is easy and interesting . All of the materials are available in any high school chemistry lab or from any chemical supply company.
In fact, I’ll make a standing offer to any Marin County, California teacher reading this: If you want some help doing this, I’ll bring you the chemicals and materials you need.
 In the lab
SOIL PHOSPHORUS TESTING (Recipe courtesy of Dr. Eva Hulse)
First, you need to make two solutions.
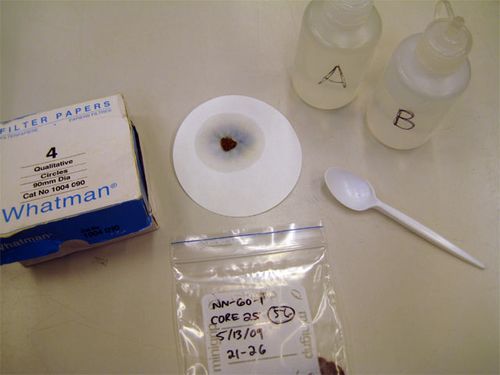
Solution A: Mix 5 grams of ammonium molybdate, 100 ml of distilled water, and 35 ml of 6-Normal hydrochloric acid until the ammonium molybdate dissolves. Put it in a dropper bottle.
Solution B: Dissolve 0.5 grams of ascorbic acid in 100 ml of distilled water. Put it in a dropper bottle. This solution turns gray when it degrades. If the solution is gray, mix up a fresh batch.
Procedure:
Scoop about ¼ teaspoon of soil (~0.2 grams) onto a piece of ash-free filter paper. We use Whatman brand. Larger circles (90 mm diameter) are big enough for four samples per piece of filter paper.
Add two drops of solution "A” to each scoop of soil
30 seconds later, add two drops of solution "B”
Wait 2.5 minutes.
If phosphorus is present, a blue ring will form around the soil on the filter paper.
Score the blue rings on a 1-2-3-4 scale
That’s all there is to it! The point is to look for differences between one soil sample and another, not to measure the concentration precisely.
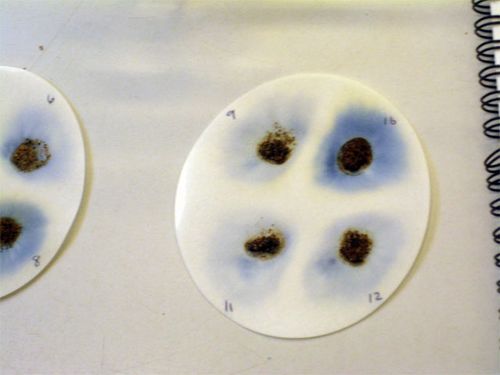 You can see that the bit of soil on the upper right corner has a lot more phosphorus than the others

