Ice coring is hard work in typically very cold environments. It takes a team to get good cores and a lot of trial and error. Fingers go numb and are extra clumsy in mittens and gloves. Hands get wet from the slush of the ice as the barrel corer sinks through the last of the ice. There is a constant switching of drill to handle and the need for extension rods to be added. This slows the process. Each core will ideally come in three separate pieces. I say ideally, because they rarely do come out in nice complete pieces. They often break and you have to go in and fetch with bare hands or try to reinsert the barrel and 'catch' the piece that broke off. It is nearly an art form to get good ice cores.
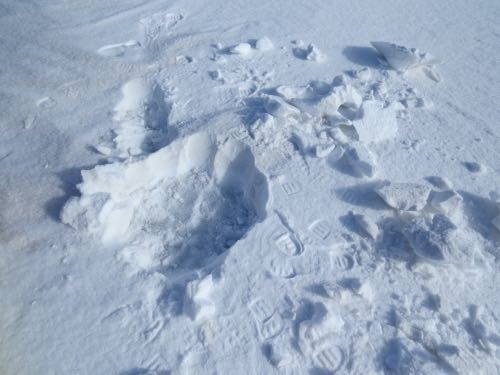 First we must prep the sight. Using a standard metal snow shovel, we dig out a hole approximately 2ft x 2 ft. We must also measure the snow height at this point.
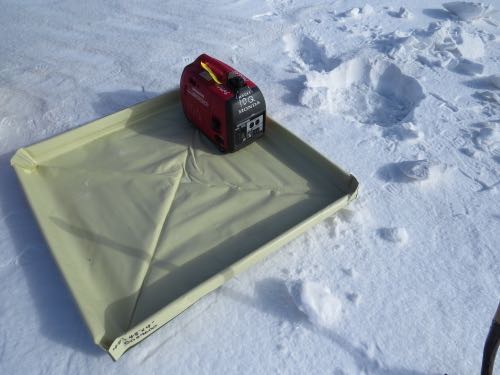 A berm to hold the generator is used to ensure no gas or oil leaks onto the snow and ice. Keeping Antarctica beautiful!
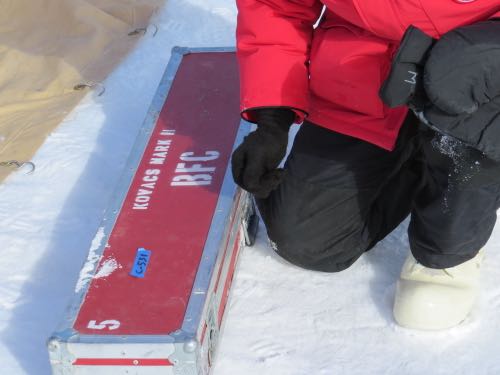 This is the box the corer comes in. Very scientific looking!
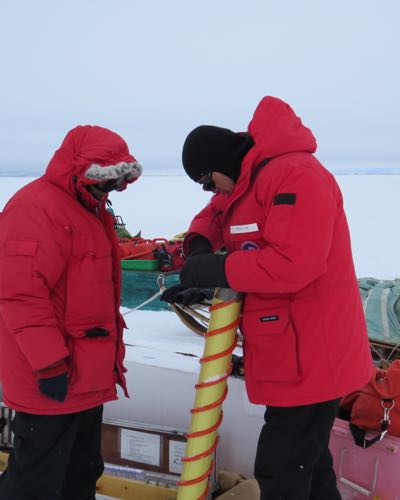 Yongli and Hongjie get the corer out of the box.
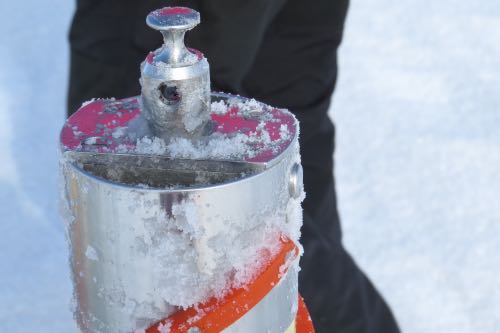 Core head must be inserted and pinned.
The barrel is only about one meter long so it can't drill deeper than this in any one section. Each core section must be pulled out of a hole that is trying quickly to refreeze on the barrel and the last piece is particularly rough as sometimes it is as though you are trying to pull the entire Ross Sea up through the hole along with the core. Back breaking work really, and the longer you stand on the ice, the more quickly your toes start to go numb.
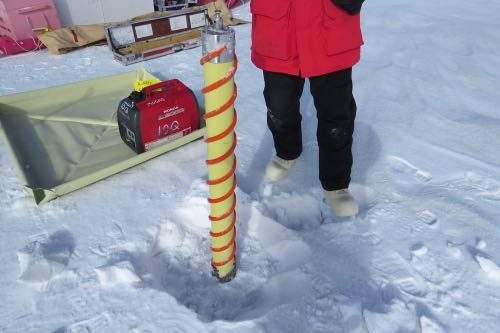 Corer is now ready to receive the coupler.
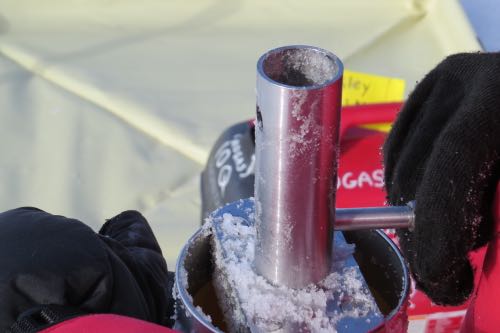 Coupler is inserted and pinned. Pins are not easy with cold fingers. Heads push in but holes must be aligned perfectly.
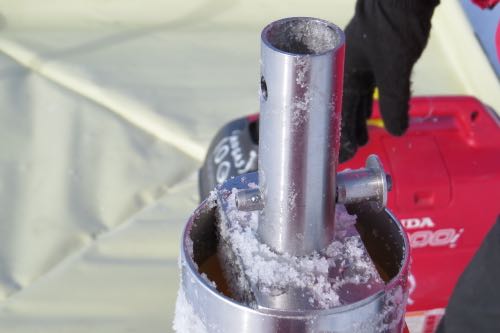 Coupler is now pinned in place and ready to receive the drill.
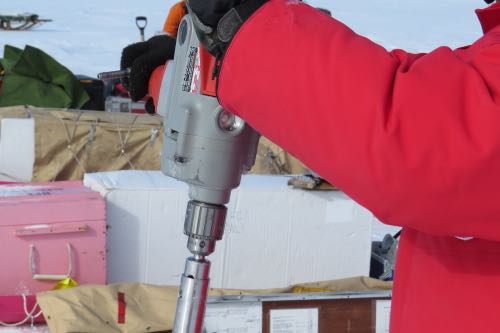 Drill head is inserted and must be pinned as well. Head of drill must be secured so as not to lose barrel in the ocean!
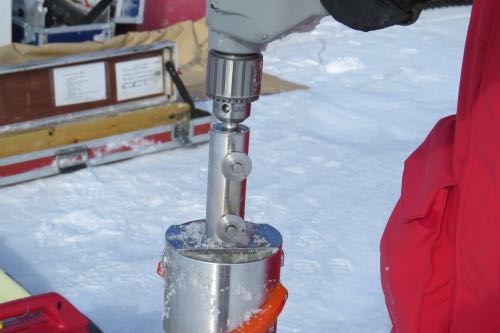 Both pins have been inserted and the corer is placed in the center of the shoveled hole.
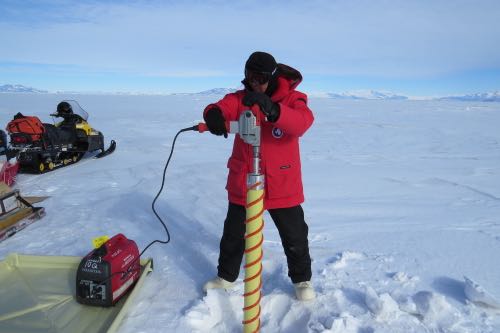 Plug in the drill, turn on the generator and you are in business, though you should try to ensure the corer is straight!
My two researchers really deserve a ton of credit here. They have done most of the back breaking work in pulling up cores and most of the drilling required to get the cores. I had my hand at the drill a few times. It wasn't exactly my cup of tea, but I managed to get one full barrel drilled one time and a few shorter sections as well! I served more as the assistant would in a surgery suite. I would hand the pins and needed pieces to the guys and they would hand back the ones not needed. I tried to keep things moving along to avoid delays and kept track of all the little pieces so they didn't get lost in the snow and eventually find their way into the sea when the ice melts!
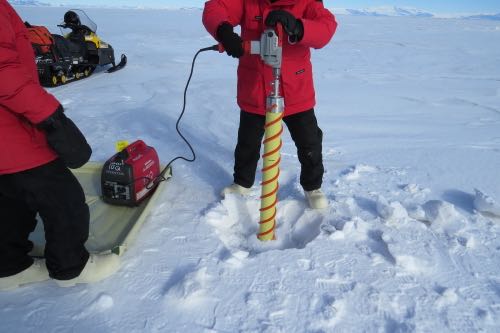 Corer is going into the ice. You do not need to apply much pressure here. Drill will do the work!
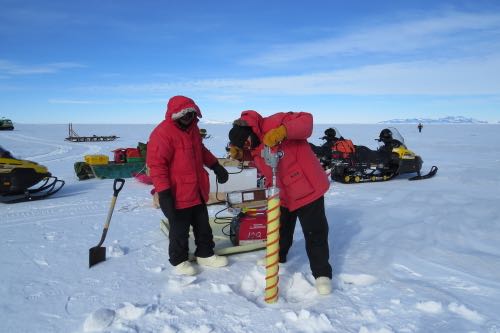 Checking again for straightness.
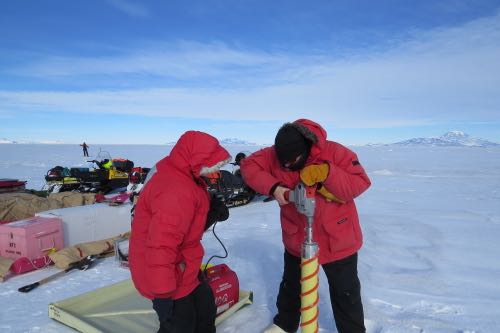 Here I am drilling further into the ice. It is a very cold day. Coldest one yet on the ice. Hands and feet are freezing not to mention the face.
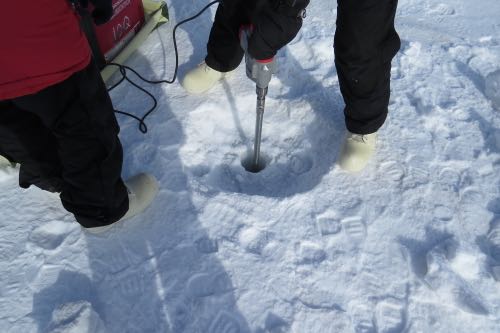 Extender rod has been added to the corer for greater depth.
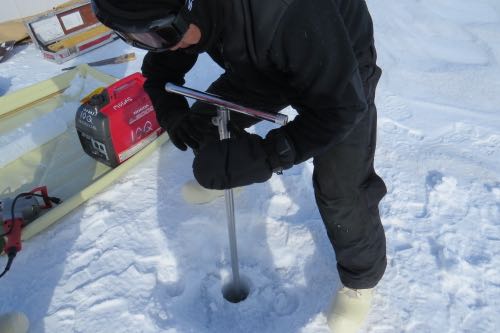 Handle is reattached to pull out the core. Cores usually come in three pieces. The first and second cores are generally about 75-95 cm in length and the last one is anywhere from 20-50 cm. Total thickness of the sea ice is about 2.2 meters in most spots!
Today's Flat Lorax cards are from Ronin in 1st grade and Anna, a great APES student from last year and an AP Bio student this year.
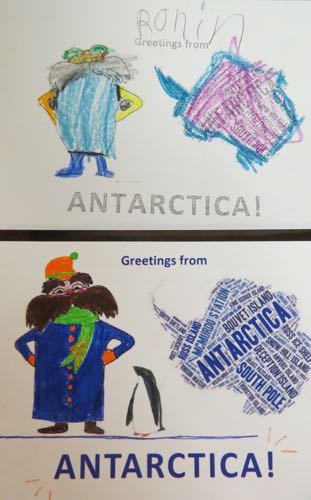 Flat Lorax postcards for Ronin in 1st grade and Anna in APBIO but also a former APES student!

Add new comment