Cruise Day 46
Speed 0 knots (kts) (on station)
Course n/a
Location N. Canada Basin, ~556 nm north of Barrow, Alaska
Depth 3860 m
GO DEEPER DISCUSSION: (see previous journal for the questions.)
Several of the analysis methods used to study trace metals involve fluorescence detection methods, but the property of a substance absorbing one wavelength and emitting another, often creating a glowing effect, isn’t limited to scientific equipment. Perhaps the most common everyday item that exhibits this property is a fluorescent light bulb. Bright inks like those in highlighters are fluorescent, and even regular copy paper glows a bit to make it look brighter (check both of these out if you have a black light.) Other fluorescent substances, like tonic water or anti-counterfeiting strips in US paper currency, may surprise you if you check them with a black light. Can you find any other glowing examples of fluorescence?
TODAY’S JOURNAL:
We continue on another day of the current super station, with teams constantly getting ready for, conducting, and wrapping up their sampling operations all day and night. We should finish this one up tomorrow, after which we’ll see if there is any ice left nearby for a final(?) ice station. There is a real possibility that we’ve seen our final trips onto the ice, though, as we proceed southward back towards Alaska. On deck this morning the wind really made its presence felt, turning snowflakes into stinging projectiles wherever skin was left unprotected. We had a little scare with our winch took a break from working, but after it warmed up a bit everything was back to normal and the deep GEOTRACES cast was conducted without further complication. For a warm-up after my shift on deck I enjoyed a new creation that I worked up in the galley – hot chocolate with a couple of hazelnut-flavored coffee creamers stirred in.
I caught wind that my buddy Paul Aguilar was going to teach some of the Coast Guard crew a splicing method and got an invitation to join them. I like rope work and knots, but come from a background of fishing, climbing, and caving, which often use different knots and splices than those in sailing and ships, so I was anxious to learn some new techniques. The splice we learned today is called an eye splice, which puts a permanent loop in the end of a line (on ships the term line is used preferentially over rope.)
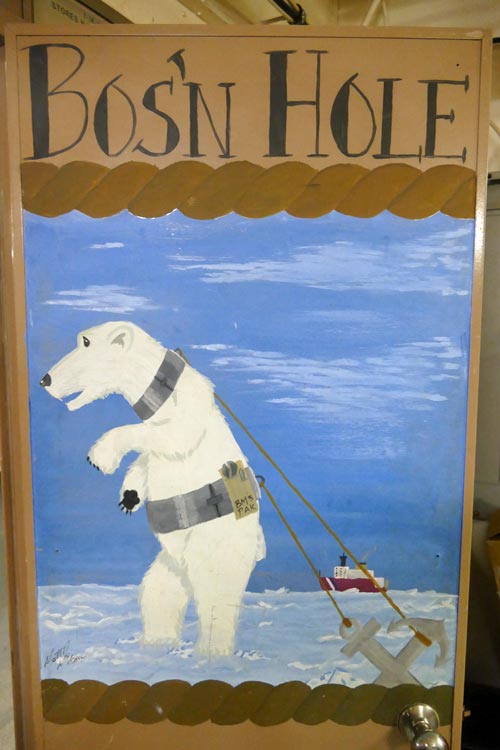 The Bos’n Hole is a workshop just forward of the mess deck where we took our splicing lesson today.
There are several good knots for tying a loop, such as a bowline or figure-eight knot, but even a good knot cuts the line strength by about half. In contrast an eye splice retains almost 100% of the line’s strength. We learned the splice on 1/2” 12-strand braided Amsteel, a synthetic line with very high strength (the material making the line is similar to the Vectran in our rosette conducting cable.) The items needed for the splice are a very sharp knife, a long pointed tool with a hollow back end called a fid, and some twine with a heavy sewing needle.
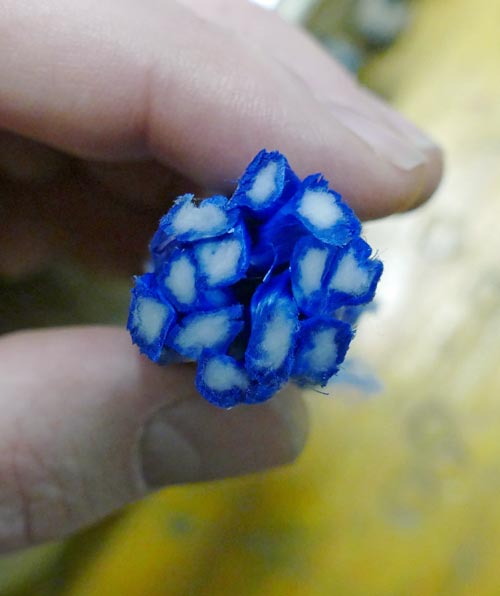 The cut end of 1/2” 12-strand braided Amsteel line.
The workshop we were using (called the Bos’n Hole) had a selection of fids so we chose the appropriate one for our 1/2” line. We started by measuring back 3 fid lengths from the cut end and adding in enough more for the loop. Then we tapered the line end. Starting one fid length from the end, half of the 12 strands were removed in a pattern that alternated teasing out and cutting two, leaving two, teasing out and cutting two, etc. until only 6 strands remained. This thinned end was then tucked into the hollow end of the fid and held there with electrical tape. Next we threaded the fid into the center of the braided line starting just above the taper and worked it up the middle until the desired loop was left at the end. Think of this step like a snake swallowing its own tail. After poking the fid back out to untape the line, the tapered end was worked back into the hollow middle by stretching the outer braid back up a little. After stretching the whole line end back tight, the outer strands grab the inner strands in the same way that a Chinese finger puzzle holds your digits tighter as you pull harder.
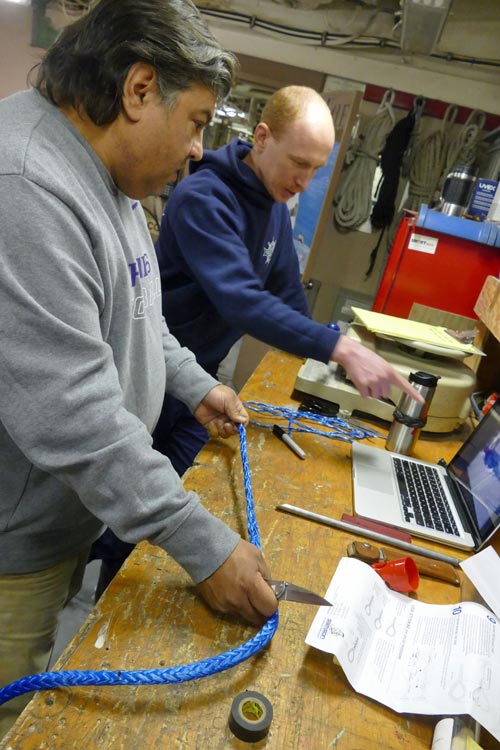 Paul Aguilar demonstrates eye splicing to BM2 Kevin Lekich.
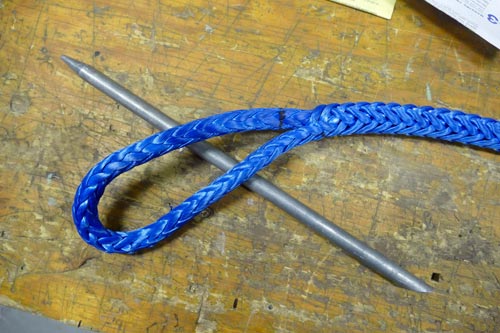 A nearly finished eye splice, shown here with splicing fid.
To finish the splice, the twine was stitched up and back down through the line nearest the loop using the heavy sewing needle, tied off with a square knot, and had the loose ends threaded back into the center of the line to keep them tucked out of the way. The splice looks good, is strong, and won’t come untied!
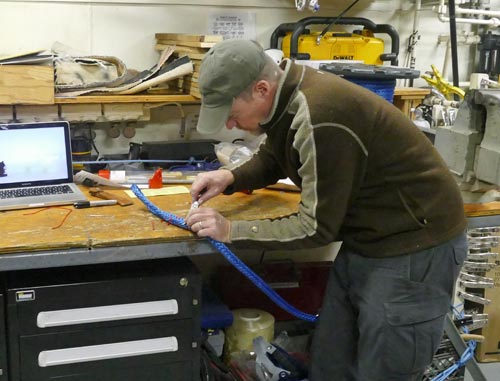 PolarTREC teacher Bill Schmoker trying his hand at making an eye splice.
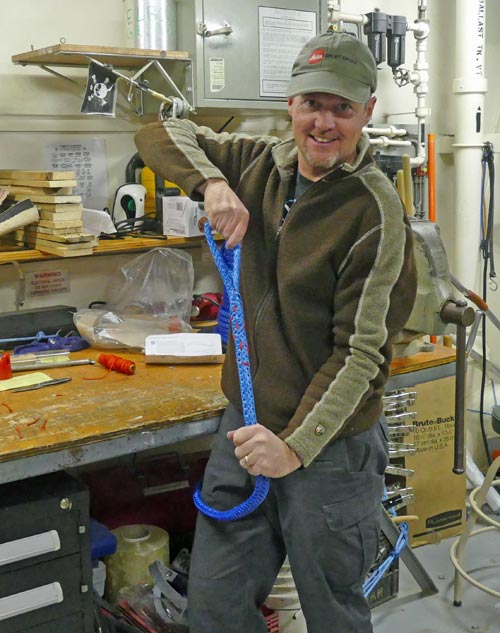 Success – eye splice completed with twine stitching in place!
GO DEEPER!
Splicing produces a very strong loop in the end of a line, so why are knots used in other cases to make loops in lines?
Aloft Con web cam updated every hour
Healy Track
That's all for now. Best- Bill

