Fun with power tools
Now, I've been lucky enough to do some pretty cool stuff this trip in the name of science, but these last couple days are going to be tough to top. There is something about using two-cycle gas-powered equipment and lot of grit to drill a meter into frozen ground, pulling out perfectly-shaped, cylindrical permafrost cores, that puts a smile on my face all day -- despite how sore my body is going to be tomorrow.
The Process and the Tools
In order to drill, we have to carry a fair number of tools into the field. The most important is the ice auger. This is a fairly standard motorized drill that an ice fisherman might use to drill a hole in the ice to access the water. The difference is the drill bit. We don't just want to drill a hole in the ground, we want to be able to extract a cylindrical core of the frozen ice from the ground. A special, one-meter, hollow drill bit was manufactured in Fairbanks, Alaska for this one specific task. The bit is machined out of aluminum with a hollow center and replaceable carbide blades allowing it to extract a 10cm diameter core of ice from the ground.
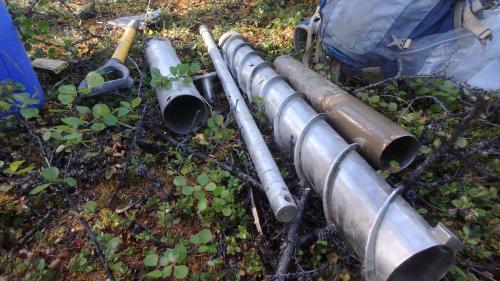 Tools required to drill permafrost cores
Along with the drill itself, we need soil saws, a metric ruler, tin foil, freezer bags with zipper locks, mineral layer core, shovel, GPS and an ice cooler to store the samples.
A three-person team is assigned to drill cores. Everyone has a specific job to do in the field. We sampled from 14 different sites and locating them was sometimes the most time-consuming portion of the project.
After locating the specific site (via GPS), we cut a 20cm x 20cm block of soil, removing the vegetation and top organic layer from the ground. With the mineral layer exposed, we use the mineral core to plunge down to frozen ground removing a soil core that will be bagged in the field and processed back at the lab. The mineral layer is the portion of soil that is gray in color, more dense than the organic layer above and has a clay-like consistency. Also, each layer of the core is measured in centimeters and recorded in the field book. Once we’ve recorded that data, we use a shovel to widen out the hole down to the permafrost layer and prep it for the drill.
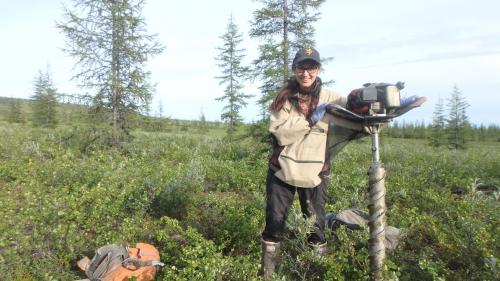 Corey Ruder displays a fully assembled ice core drill
After the motorhead of the drill is assembled with the meter-long, hollow bit, it's time to take that core. This can be done by one person, but having two people on each side of the drill definitely takes some of the load off. It is much more strenuous than you might think. It's not like drilling a hole in a piece of wood, the core is frozen ice mixed with silt and soil, which makes its removal tricky. The most important thing is to keep the drill bit moving and be on guard because it can get stuck and freeze, literally, which would make for a long day -- trying to retrieve the very expensive drill bit from a frozen block of ground.
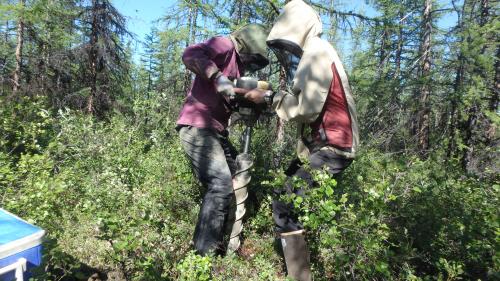 Ludda Ludwig and Corey Ruder drill a permafrost ice core in Northeastern Siberia
Once the team pulls the drill out, the permafrost core is plunged from one end and carefully wrapped in tin foil. A researcher tags each piece (in the order they came out) and marks which end is the top or bottom. Once the core is out, the hole is measured and checked for any remaining pieces of the core that didn't come up with the drill. If everything is clear, the hole is refilled with the soil initially removed. We clean everything off, pack our backpacks and head back to the car for another round.
The sites are anywhere from 100 to 400 meters from the road so, overall, each core takes about an hour and a half to drill. We drilled 14 of them total.
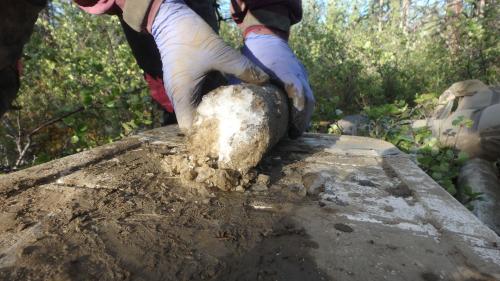 Ludda Ludwig prepares a core for transportation back to the lab to be processed
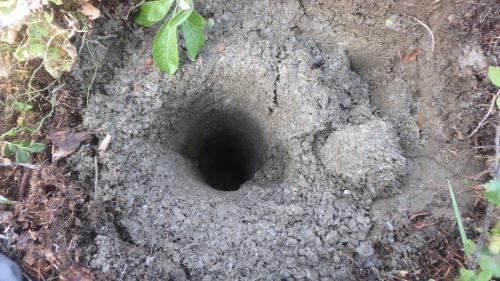 Drill hole left behind after a core extraction
What can we learn from the permafrost cores
Studying each core in the lab at the centimeter scale will give researchers a better idea of what is happening on a seasonal basis between thaws. Every winter the water in the ground will freeze. Freezing fronts will form ice lenses as water is concentrated along the frontal boundary of saturation. These areas in the core are described as lenticular ice features and have a visibly wavy appearance to them. These lenses can determine the direction of freezing within the core, either up or down from the surface. Another feature within the core is a more chaotic structure called reticulate ice, which indicates that the ice didn't freeze in one direction, but from many, and makes it difficult to tell ice flow.
There is a considerable amount of silt and sediment trapped within the ice. The soil and sediments are part of the active layer and are important for measuring the amount of carbon locked away in the core (and at what levels) below the ground. In some cases, bits of charcoal can be found in the mineral-rich layers above or within the frozen ground, which would indicate forest fire activity. What the core looks like above and below the charcoal can help scientists determine what happens before and after a burn.
The Drill Team
Our drill team consisted of Corey Ruder, Ludda Ludwig, Sue Natali and myself. Corey is a recent graduate of St. Olaf College in Minnesota Environmental Studies and is now enrolled in a PhD program at Washington State University. Ludda is also a graduate of St. Olaf and recently finished up her Master’s at the University of Alaska at Fairbanks. She now works at the Woods Hole Research Center in Falmouth, MA with Sue Natali, PhD. Sue is one of the lead researchers on this project. She comes here with a strong background in Arctic permafrost studies, and, with her tutelage, we were able to successfully core all 14 projected sites. Once again I am extremely honored to work with some incredible people here in Siberia.
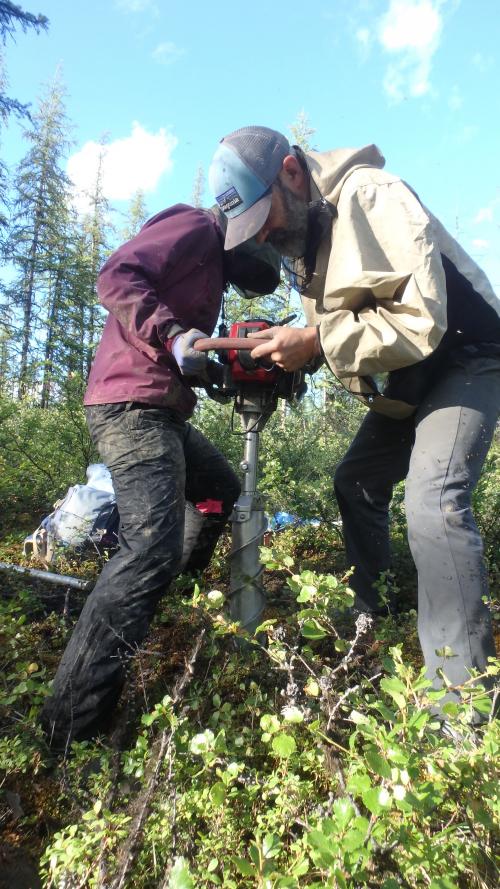 Stan Skotnicki and Ludda Ludwig drilling a permafrost ice core in the boreal forest of Northeastern Siberia

Comments