In the last post, Dr. Becky Hewitt injected an isotope of Nitrogen (15N, to be precise) deep into the ground, where the active layer meets the permafrost. Special metal tubes were used with small holes (about the size of a pin) that were opened when the probe was deep in the ground, to insure that the Nitrogen only exited the tube at the permafrost layer. Why? Listen to Dr. Lee Taylor explain the purpose of this part of experiment.
Nitrogen-15
In a previous post, I explained why Nitrogen is so important to living things (and in our case, plants of the tundra). As my students will tell you, all living things are not made of “pork chops,” but “NCHOPS.” To measure the amount of Nitrogen a plant takes up in 24-hour period (and in a 1 year period), the team needs a way to differentiate the injected Nitrogen with the Nitrogen that is already a part of the plant’s tissues. To do this, an isotope of Nitrogen is used, as it varies in the number of neutrons in each of its atoms (Nitrogen naturally has 14 neutrons, while the one used in our experiment has 15) and can be analyzed using a mass spectrometer. The ratio of 15N to normal 14N will be compared to determine what parts of the plant incorporated the injected 15N in the two different time periods.
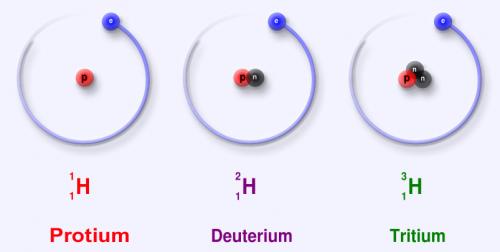
 The isotopes of Hydrogen. All isotopes vary in their number of neutrons. Source: Wikipedia
Listen to Mr. Anderson over at Bozeman Science explain how a mass spectrometer works. Skip to 2:48 to understand how the sample is passed through the machine, and unless you are super interested in chemistry and physics, end at 5:50!
Contamination
Since this project really wants to see what plants (and/or what parts of plants) take up 15N from the thawing permafrost, it is super important that 15N ends up ONLY in the places we want it to. With over 8-10 people handling samples during the “pluck” (more on that in a later journal entry), that can be hard to do. There are a few protocols in place to make sure that contamination is minimized (or eliminated altogether):
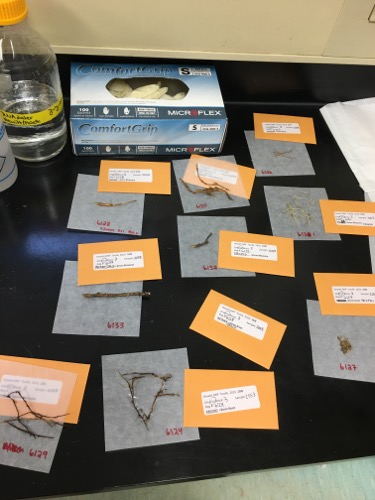
1.LABELS. All samples are labeled as 15N as a reminder.
 Lots and lots of samples with lots and lots of labels. Notice the box of gloves in the background.
2.GLOVES. Gloves are ALWAYS worn, and changed frequently. During the injection of 15N while in the field, we changed gloves anytime we handled materials that came in contact with 15N.
3.ETHANOL. Every surface is thoroughly wiped down with ethanol between samples. One of the most time consuming parts of the experiment was the cleaning of injection probes between sampling plots. Each probe had to be thoroughly cleaned so that no 15N ended up in the injection sites as the probe was lowered into the ground. Back in the lab, tweezers were cleaned with ethanol each time a root was handled, tables were cleaned with ethanol between sample analysis, etc. In an experiment like this, ethanol is your friend.
 Ethanol is used frequently in a clean lab. No isotope should end up where it isn’t supposed to be!
4.PRECISION. Recording data correctly, using gloves, wiping down with ethanol – those are just good lab practice. There is one practice that supersedes all of this: getting it right the first time. Going through your procedure carefully and often slowly (yeah…good science is often mind numbingly slow to catch mistakes). With so many moving parts in an experiment like this, being meticulous pays off.
So I mentioned a “pluck” earlier in the journal. You’re probably curious…but you’ll have to wait until the next journal post!
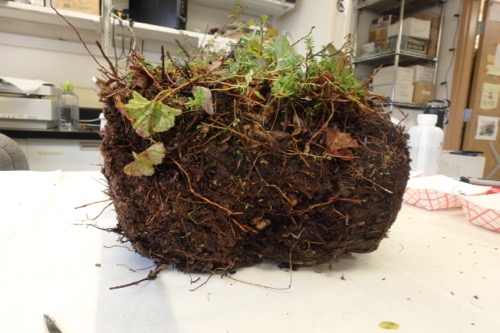
 This soil block will be dissected in the next journal!

Comments